


Recently, we’ve discussed how to do the design and factor setup for design of experiments in Minitab Statistical Software. We’re almost ready to launch some gummi bears. But there’s something else to consider. When we produce the data for design of experiments, how does the data get from the measuring device to Minitab?
If you’re lucky, you have an electronic thingamajig that takes measurements and beams them directly to a desktop computer where they’re stored in an analyzable format. But that’s Joan-Ginther-or-Jim-Frost-lucky. The rest of us are probably going to have to use a classic 4-step process:
- Measure all the gummi bear distances
- Write down all of the gummi bear distances
- Go from the data collection area to the computer
- Type the numbers into Minitab
We’ve talked quite a bit about using Minitab for measurement systems analysis, but it pleases me to note that Minitab can even make writing down the distances easier. If you made your design in Minitab the way I did, you have a worksheet that looks something like this (though the order of the rows will be different, since the experiment is randomized):

Before you print the worksheet, add headers to columns to the right of the design so you have a place to record your data. I’m planning to measure the distance parallel to the catapult and perpendicular to the catapult, so I’ll make two columns. It’s also nice to have a little bit of extra space to make notes. Maybe you notice that the position of the fulcrum was a little off, but you decide to try the analysis with the measurement in the data. That’s a detail it’s easy to forget if you don’t write it down. I’ll make a “Notes” column too, and end up with a worksheet like this:

With all the columns in, I could print my worksheet, but there will be a problem. I’ll get three pages with the design:

And three pages with a single notes column:

This is a problem that some scotch tape or wider paper could fix, but instead, notice that the labels are much longer than the data inside the columns. Especially where I’ve called something a “position.” You can narrow the label text in Minitab, and then narrow the columns:
 Choose Tools > Options.
- In the list at left, expand Data Window.
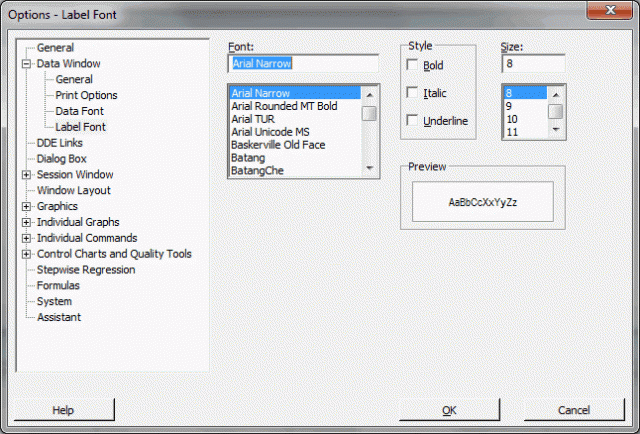
- Select Label Font.
- In Font, choose Arial Narrow.
- In Style, uncheck Bold.
- In Size, choose 8. Click OK.
- Highlight the 3 columns with “position” in the title.
- Choose Editor > Column > Width.
- Select Fixed Width and enter 11.86. Click OK.
Now that the worksheet is ready to print, we can send it to the printer:
- Choose File > Print Worksheet.
- Uncheck Print Row Labels.
- Add a title (I used Gummi Bear Experiment).
- Click Properties and make sure that the paper orientation for your printer is Landscape. Click OK in both dialog boxes.
Mine looks like this:

But you can also feel free to use this PDF file, as long as you don’t mind running the experiment in the same order as me. Either way will let you practice design of experiments to build your confidence!