


Many of us have data stored in a database or file that we need to analyze on a regular basis. If you're in that situation and you're using Minitab Statistical Software, here's how you can save some time and effort by automating the process.
When you're finished, instead of using File > Query Database (ODBC) each time you want to perform analysis on the most up-to-date set of data, you can add a button to a menu or toolbar that will update the data. To do this you will need to:
A. Create an Exec (.MTB) file that retrieves the data and replaces the current data.
B. Add a shortcut to that file to either a menu or toolbar.
Creating an Exec (.MTB) file
First, I'll create a Minitab script or "exec" that pulls in new data to my worksheet. This is easier than it might sound.
1. Use File > Query Database (ODBC) to import the desired data. I have several fields that need to be updated, so I can just use File > Query Database (ODBC) repeatedly to pull required fields from multiple tables.
2. Open the History window by choosing View > Command Line/History and select the ODBC commands/subcommands.
3. Right-click the selected commands and choose Save History As...
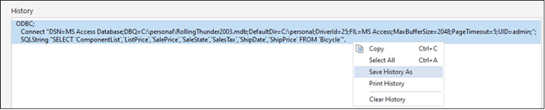
4. In the Save As dialog box, choose Exec (*mtb) from the Save as Type drop-down. Choose a filename and location—for example, I'm going to save this as GetData.MTB on my desktop.
But I want to make it even easier. Instead of opening the script when I want to use it, I want to be able to just click a button.
MAKE THE .MTB FILE A TOOL
First, we need to define a tool.
1. Choose View > Customize.
2. Select the Tools tab
3. Select ![]()
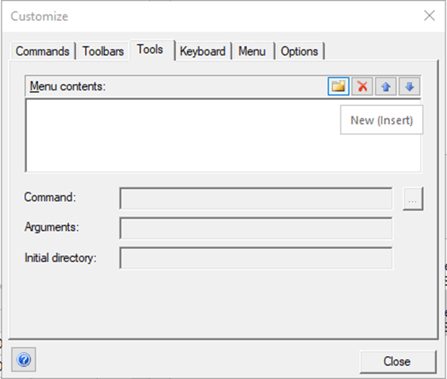
4. Enter a name for the button and press Enter. (For example, enter Get My Data)
5. Click  to view the Open files dialog box. From Files of type, choose All Files (*.*) then navigate to the .MTB file and double-click it. The dialog box will look like this:\
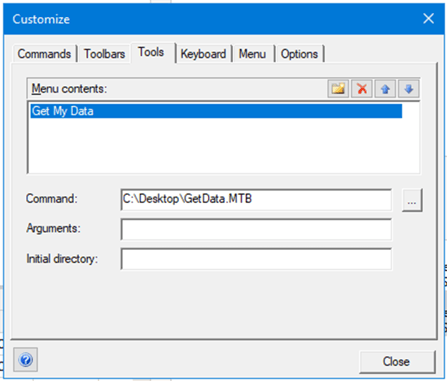
6. Click Close
7. Now that the macro is a defined tool, I can add the macro to a menu or toolbar.
ADDING A BUTTON TO THE MINITAB TOOLBAR
Creating a button on a toolbar is easy. Use the following steps:
8. Choose View > Customize
9. On the Commands tab, under Categories, choose Tools.
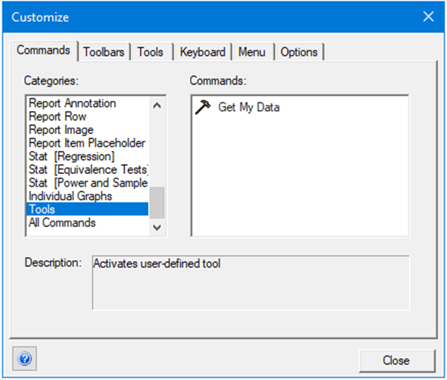
10. Click and drag Get My Data to the desired place on a menu or toolbar.
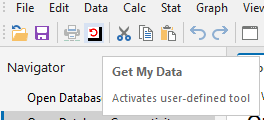
Basically, that's it. However, you can change what is displayed on the toolbar by right-clicking the button or text while the Tools > Customize dialog box is open. You can select Image, Text, or Image and Text.
To change the image that is displayed, choose Edit Button Image. To change the text that is displayed, choose Name Button. As shown below, I have a circular arrow in the main toolbar, and named it "Get My Data."
Now I can update my data at any time by clicking on the new button. And if you've been following along, so can you! If you don't already have Minitab Statistical Software and you'd like to give it a try, download the free 30-day trial.